Nintendo Sound Clock: Alarmo – Expensive but fun and something only Nintendo can do
Nintendo Sound Clock: Alarmone of Nintendo’s most complex yet exciting offerings in recent memory, was announced and launched simultaneously on Wednesday, October 9.
We managed to prepare one for ourselves, so if you’re wondering if this curious new device is worth buying $99.99 / £89.99 / €99.99 Ask about the price then you’ve come to the right place.
Note. We’re waiting until we’ve had a few nights of use before giving this Alarmo review a final score – enough time to explore our favorites topic and really put it through its paces (well, to the point where you could put an alarm clock through its paces). In the meantime, we’ll cover the device’s design, initial setup, key features, and first impressions to hopefully help you make an informed decision if you just can’t wait. Our final verdict.
So without further ado, let’s unbox the Alarmo and see what we have.
What’s in the box?
The box itself is pretty standard stuff: admittedly it’s a bit smaller than we expected, and it’s packed with text that, frankly, we don’t have the patience (or skill for) multilingual) to read. Let’s rip this thing apart.
Once you’ve unpacked everything and set the box aside, you’ll find yourself left with:
- alarm clock,
- USB-A to USB-C cable,
- and a shabby little foldable instruction sheet
We are a bit confused by the lack of any AC adapter for this device. Yes, skipping the power adapter has been common practice among major companies for a long time, and Nintendo even removed it from its 3DS line after a while, but we feel it’s necessary. necessary for an alarm clock.
Some homes today have USB slots built into the walls, but these are still few and far between. So make sure you have a spare – any old 5V phone adapter with a USB-A connector will do. If you have a spare Switch dock power cable, it will work just as well.
Once you’ve placed the Alarmo clock in the optimal position on your bedside table, it’s time to set things up.
Nintendo Sound Clock: Alarmo – Design & Display
Before diving into the initial setup with the Alarmo, let’s take a look at the device’s actual design and display.
Starting with size and weight, it’s as big as you’d expect an alarm clock to be, but perhaps a little lighter at 237g (the OLED Switch weighs 319g). Granted, once you’ve got that thing arranged on your bedside table, chances are you won’t be moving it around much, but it’s nice that it can be easily moved if needed.
The top two buttons represent the ‘Back’ and ‘Sleep Record’ functions. So basically, instead of navigating to the Sleep Records screen within the screen itself, a quick click of the right button takes you straight there. The buttons require almost no force, and they produce a nice, satisfying click when you do so; no different from the volume button on the side of a high-end mobile device.
On top, you have the round dial. This thing lights up when the alarm goes off and you can rotate it left and right to navigate through the menus, pressing down to confirm. The controls are extremely responsive with very little lag, although some requests (such as entering your Internet password) seem a bit difficult.
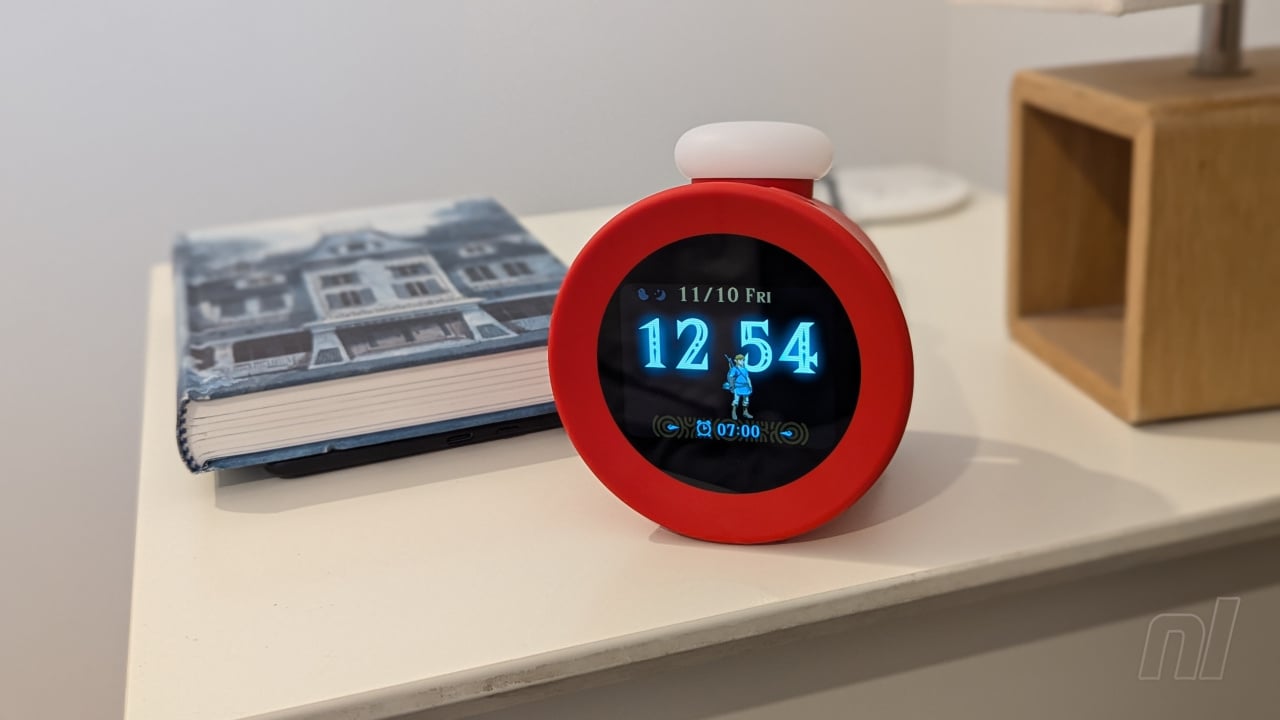
On the display, you get a 2.8-inch color LCD and it looks amazing. At maximum brightness, the background colors really pop, and you can easily set it to dim a bit if the motion sensor doesn’t detect anything nearby. motion (of course, the screen will also dim to almost completely black at night).
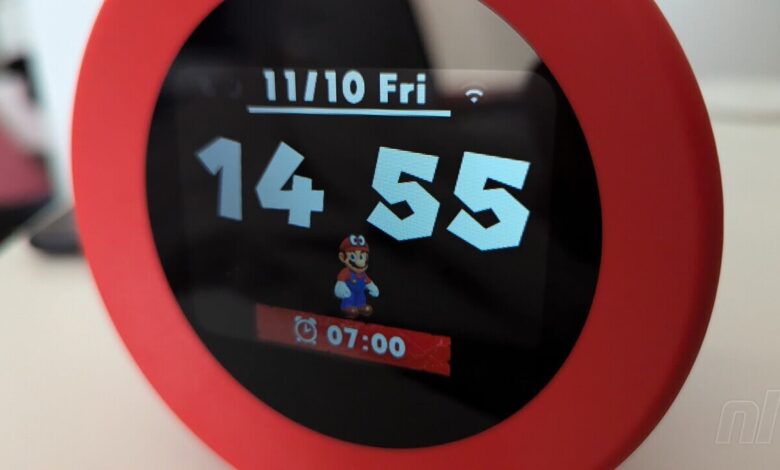
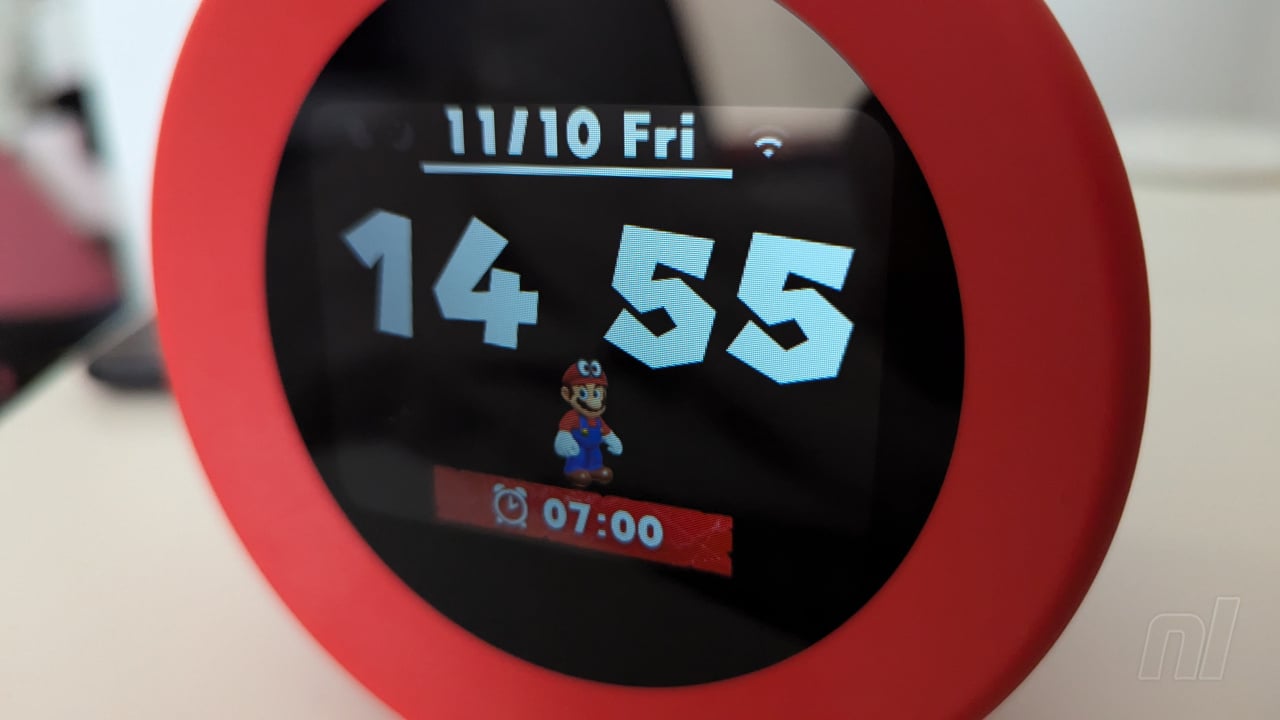
With the always-on clock display, you’ll have themed fonts and characters depending on the game you’ve chosen as your alarm. Watching Mario and Link run around in time is a treat.
Nintendo Sound Clock: Alarmo – Initial Setup
Setting up Alarmo is, predictably, very easy and very ‘Nintendo’, which means there’s a fair bit of fun to be had in what is a fairly simple task.
Now, we say it’s easy, but if you’re buying the Alarmo for a young child, you should probably do the initial setup yourself before handing it over. There’s nothing particularly difficult here, but you do need to understand what type of bed is being used (single, double, king, etc.) along with where to position the Alarmo relative to the bed itself.
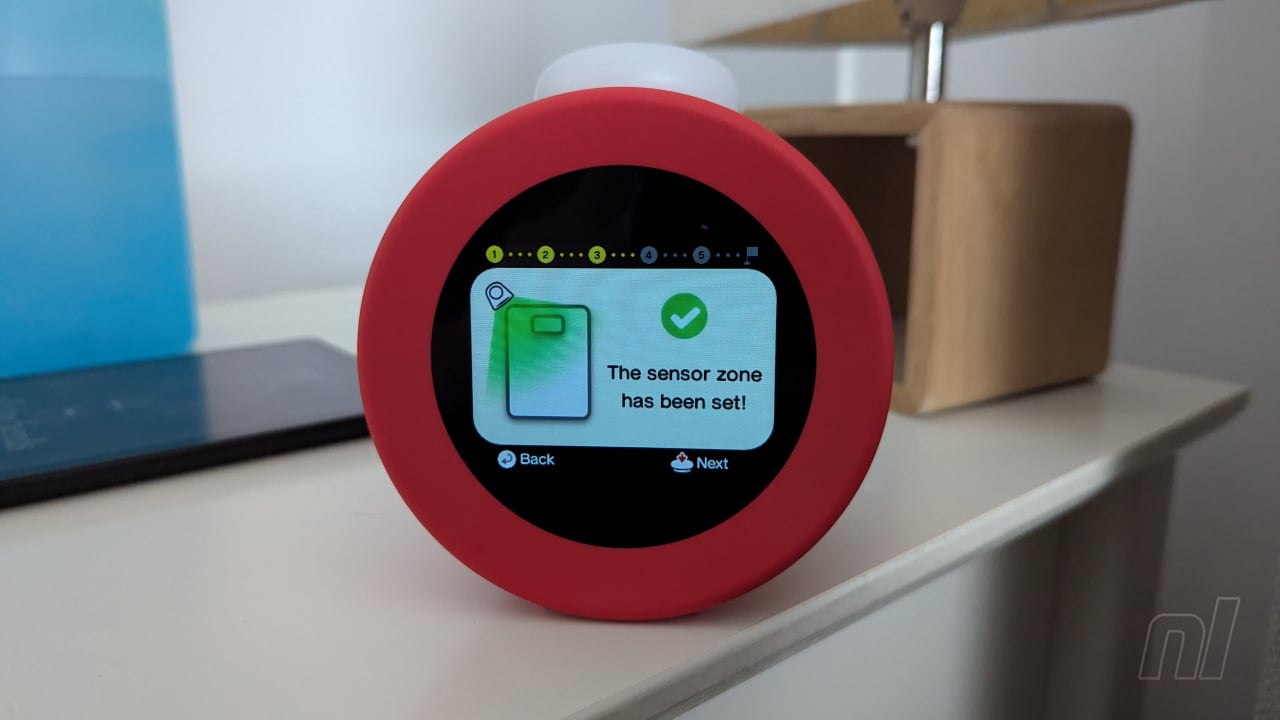
You’re prompted to select a language and region before setting the date and time manually; Once you complete the entire setup process, you can connect to the Internet and automatically set the date/time. Alarmo will then ask you to move from side to side and back and forth to calibrate the motion detection technology properly, during which Mario will run around and grab a coin to show that you’re doing it right .
Once you have adjusted your initial position, Alarmo will begin a test, asking you to lie in bed as if you were sleeping while playing a randomly selected track to ‘wake you up’. It prompts you to get out of bed to stop the music, and if this doesn’t work as expected, you can change some settings before trying again.
When selecting a ‘scene’ to use as an alarm, the device annoyingly doesn’t play any sampled music, so unless you’re familiar with the game, you won’t know what tune to expect for until the alarm actually appears. begin. That means each scene has a title and an accompanying image, so it’s pretty easy to figure out what music will play.
A quick note about the sound quality – it’s great. Granted, the volume won’t compete with the likes of an Alexa speaker or a Bose speaker, but it helps considering how close you might be while sleeping. You can easily turn the volume up or down with the dial from the home screen, and the quality remains crisp and clear even at maximum levels.